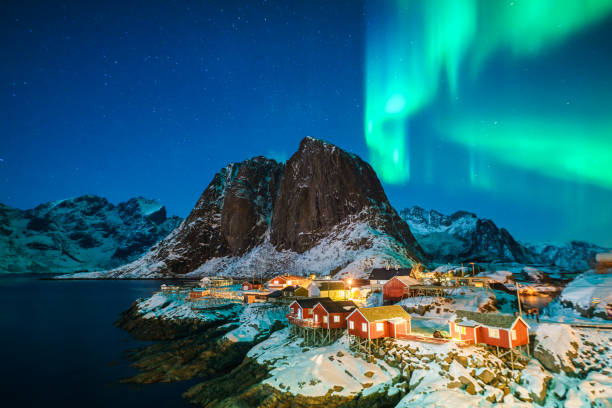
Witnessing the northern lights, or Aurora Borealis, is a bucket-list experience for many. I’ve had the fortune to see and photograph this stunning natural phenomenon multiple times, particularly in Iceland. To help you increase your chances of experiencing this magical display, here’s a comprehensive guide on how to see and photograph the northern lights effectively.
Finding the Northern Lights in Iceland
Understand the Challenges
The northern lights can be elusive due to several factors. To maximize your chances of seeing them, you’ll need:
- Dark Skies: Light pollution from cities can hinder visibility. While you might catch glimpses from Reykjavik, your best bet is to venture into the countryside.
- Clear Weather: Cloud cover can obstruct your view of the aurora. Pay attention to the weather forecast, especially regarding cloud cover. Apps like MeteoEarth can help.
- Aurora Activity: The KP Index, which measures aurora activity from 0 to 9, is crucial. A KP Index of 3 or 4 may yield sightings, while a storm (KP 5+) offers the best displays. Use apps like My Aurora Forecast Pro for real-time alerts.
Best Practices for Aurora Hunting
- Seek Dark Locations: Get away from city lights for optimal viewing.
- Avoid Full Moons: A full moon’s brightness can wash out the aurora. Check moon phases using apps like The Photographer’s Ephemeris.
- Wait for Clear Weather: Look for nights with minimal cloud cover.
- Plan Your Trip: The best time to see the northern lights in Iceland is from September to April, with peak visibility during the darkest months (November to February).
Where to Look for the Aurora
Ideal Locations
The best places to see the northern lights are in the northern latitudes, particularly between 68°N to 74°N. Besides Iceland, consider:
- Northern Norway, Sweden, and Finland
- Greenland, Russia, Alaska, and Canada
Remember to Look North
The aurora typically dances along magnetic bands near the Arctic Circle, so keep your gaze northward. Weak aurora activity may appear grey and wispy; aim your camera at these areas and take a long-exposure shot to reveal their true colors.
Northern Lights Photography Tips
Essential Gear
For successful northern lights photography, quality gear is key:
- Digital Camera: A camera with manual mode and high ISO capability is essential.
- Wide Angle Lens: A lens of 24mm or wider with a fast aperture (f/2.8 or better).
- Sturdy Tripod: To prevent camera shake during long exposures.
- Extra Batteries: Cold weather drains batteries quickly, so bring 2-3 extras.
- Cold Weather Clothing: Dress warmly to enjoy the experience.
Focusing Your Camera at Night
Proper focus is critical for sharp images. Here are some techniques:
- Use a Distant Landmark: Focus on a mountain or other distant object at dusk when there’s still some light.
- Manual Focus: Many cameras have an infinity focus setting, but it’s not always accurate. Zoom in on your subject to fine-tune focus, then switch off autofocus.
- Lock the Focus: Once focused, tape the focus ring to prevent accidental adjustments.
Camera Settings for Northern Lights
- ISO: Set your ISO between 800 to 3200, depending on the brightness of the aurora and ambient light.
- Aperture: Use the widest aperture (lowest f-number) to gather as much light as possible.
- Shutter Speed: Start with exposures around 10 to 20 seconds. Adjust based on the brightness of the aurora; shorter for brighter displays, longer for dimmer ones.
- Shoot in RAW: This allows for greater flexibility in post-processing.
Conclusion
Seeing and photographing the northern lights in Iceland requires planning, patience, and a bit of luck. By following these tips and being prepared, you’ll enhance your chances of experiencing this breathtaking spectacle. Remember, dedication pays off—spend time outdoors, explore different locations, and enjoy the magic of the Aurora Borealis!


